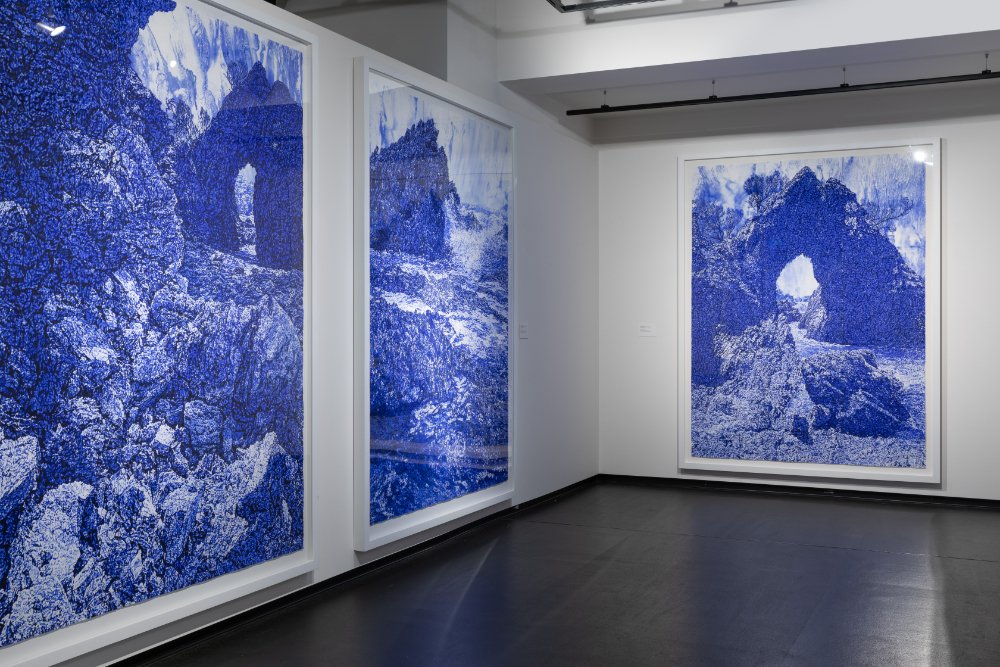
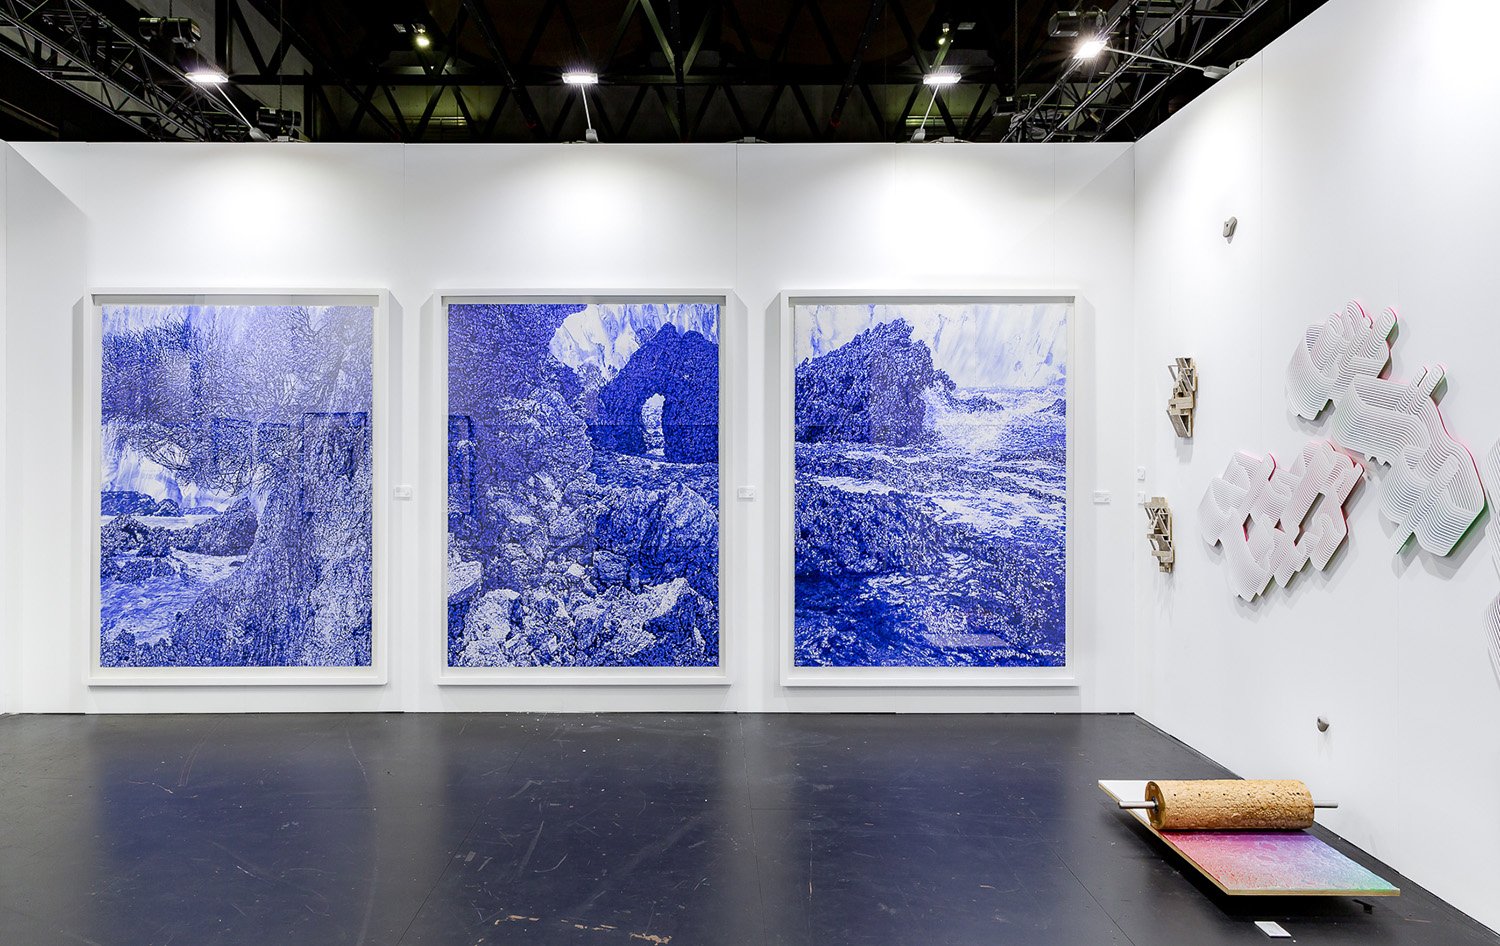
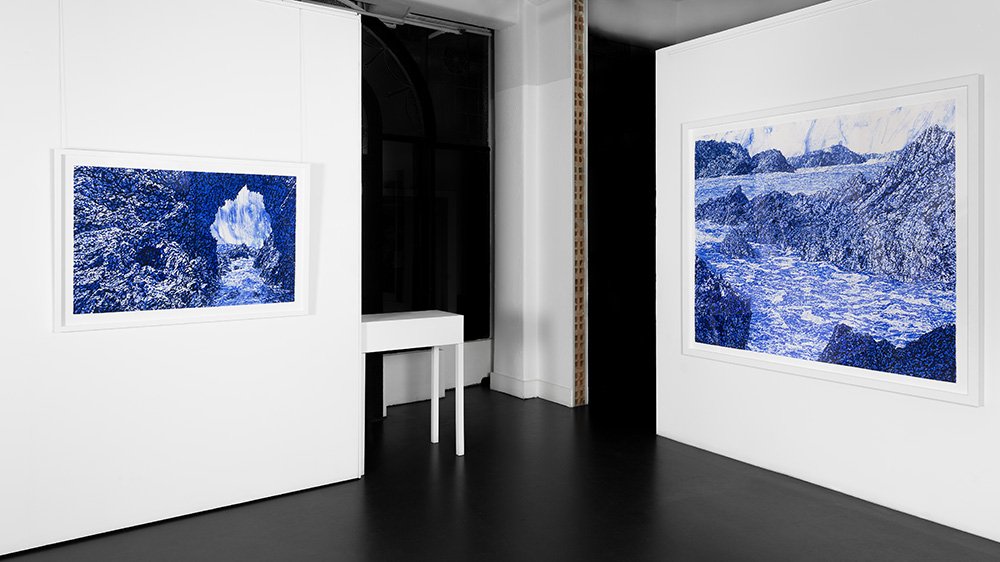
Endurance 10, 11 & 9, 2022, Ellen José Art Award, Bayside Gallery, Victoria, photo by Mark Ashkanasy, Image Courtesy Bayside Gallery.

Endurance 10 (Rockfall), 2021, watercolour monotype on paper with watercolour additions, 228cm x 168cm

Endurance 11, 2022, watercolour monotype on paper with watercolour additions, 228cm x 168cm

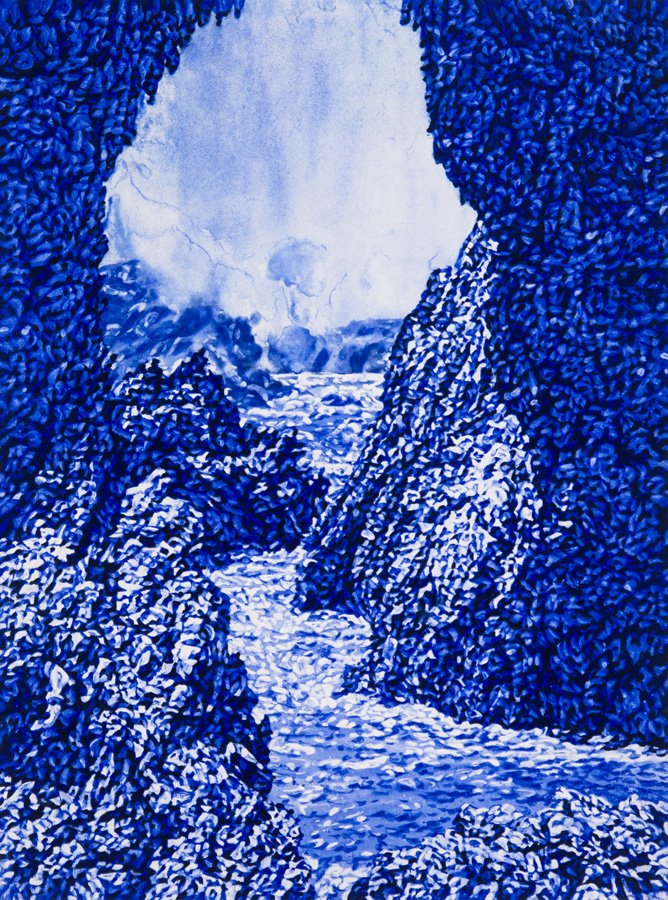
Endurance 9, 2021, watercolour monotype on paper, 228cm x 168cm
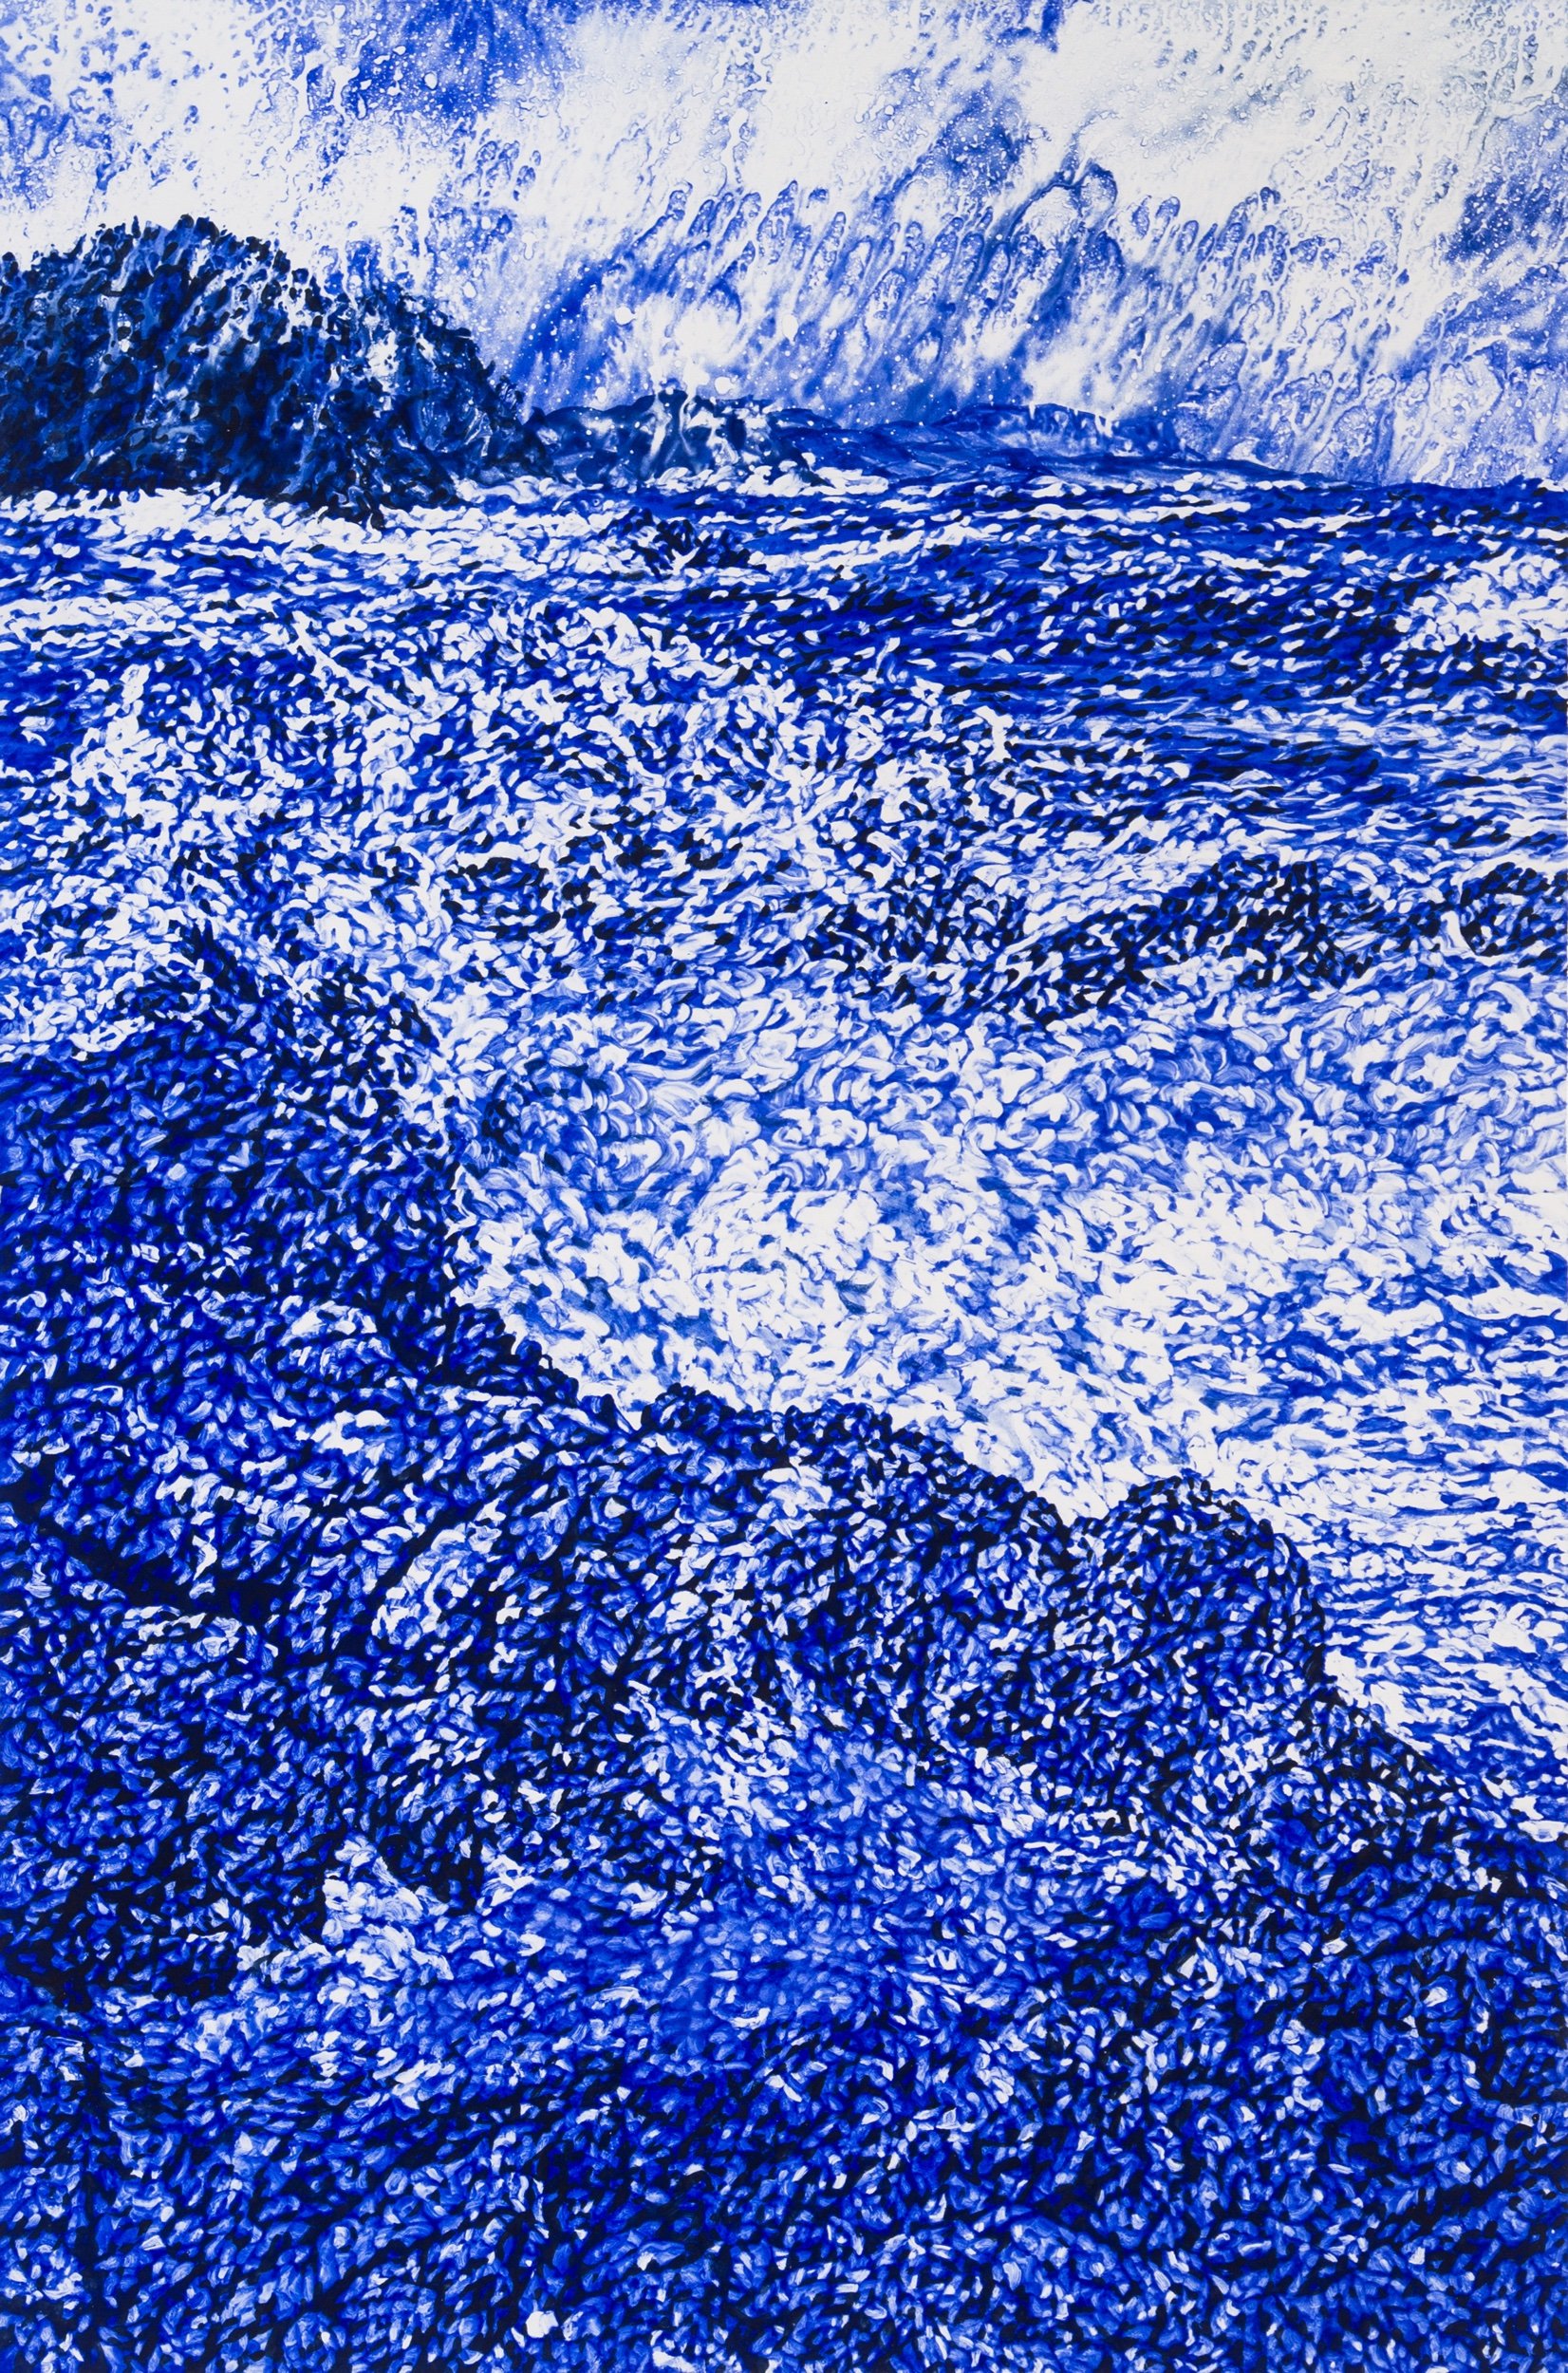
Endurance 9 (detail), 2021, watercolour monotype on paper, 228cm x 168cm
Endurance 9 (detail), 2021, watercolour monotype on paper, 228cm x 168cm
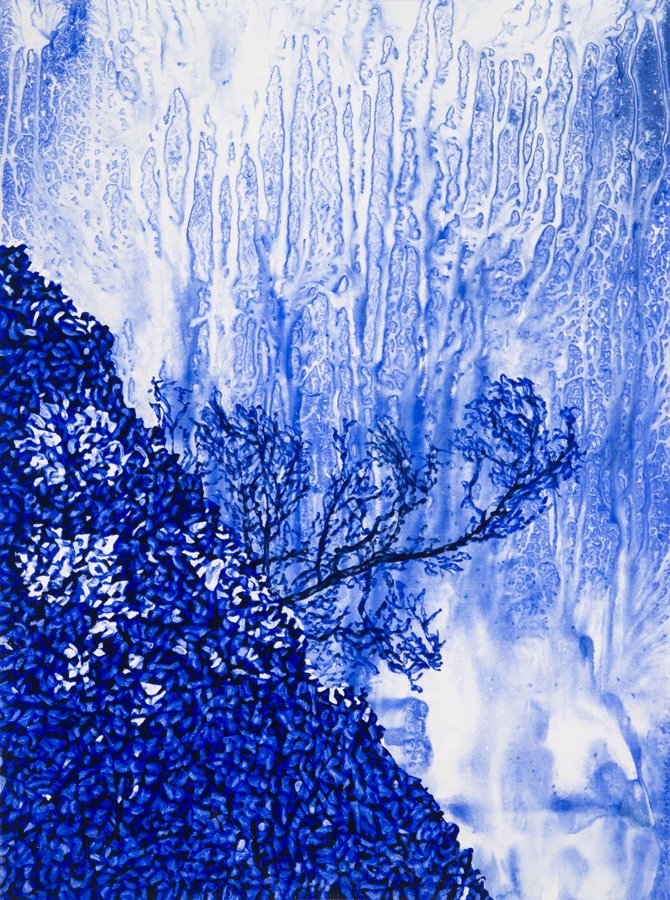
Endurance 13, 2022, watercolour monotype on paper, 228cm x 168cm
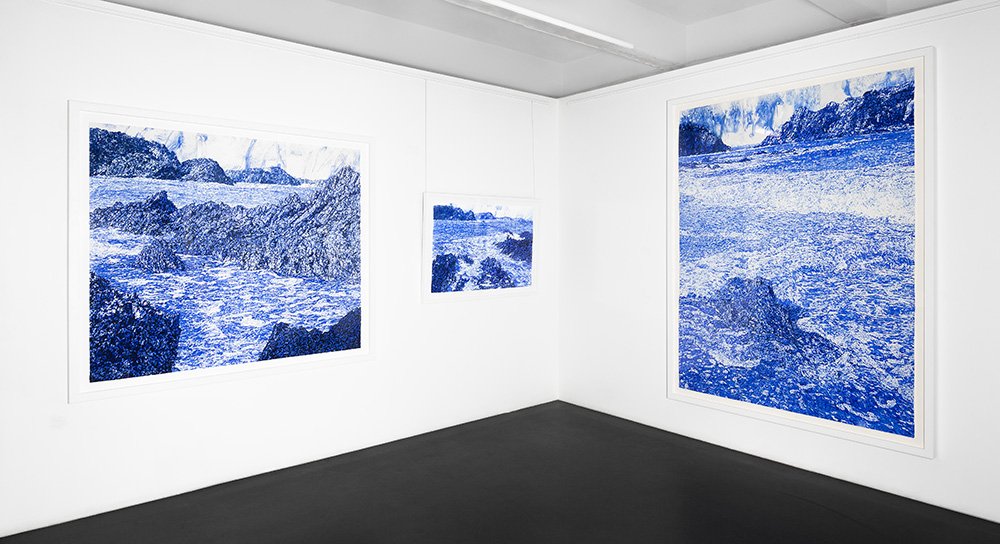
Endurance 13, Endurance 10 (Rockfall), Endurance 11, Sydney Contemporary Art Fair 2022, photo by Document Photography

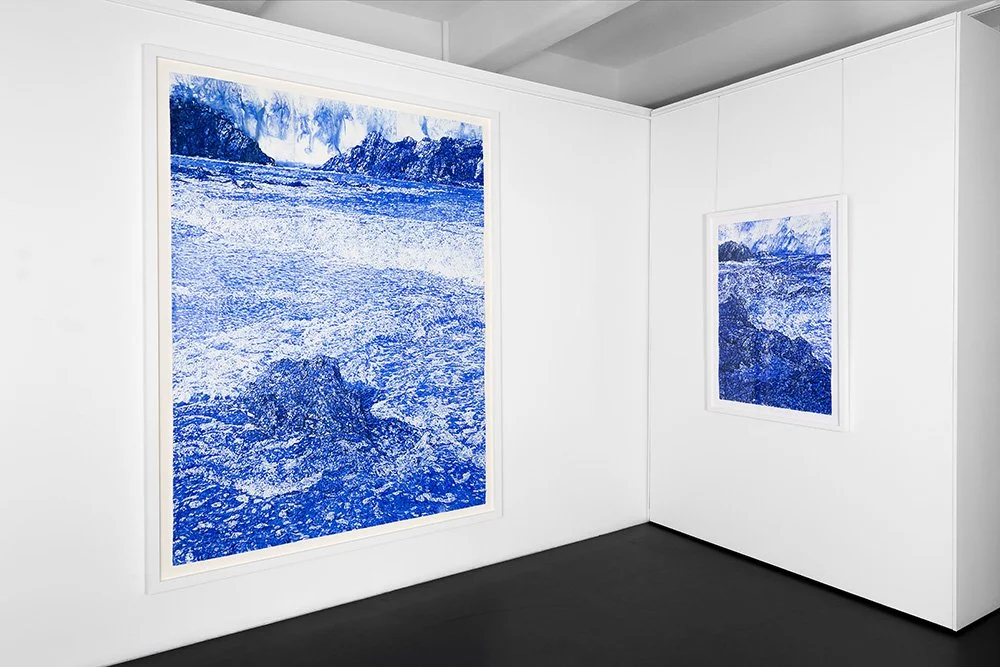
Across the Distance exhibition install at Cox Gallery, Canberra, photo by Brenton McGeachie

Endurance 7, 2021, watercolour monotype on paper, 228cm x 168cm, photo by Brenton McGeachie

Endurance 7 (detail), 2021, watercolour monotype on paper, 228cm x 168cm, photo by Brenton McGeachie

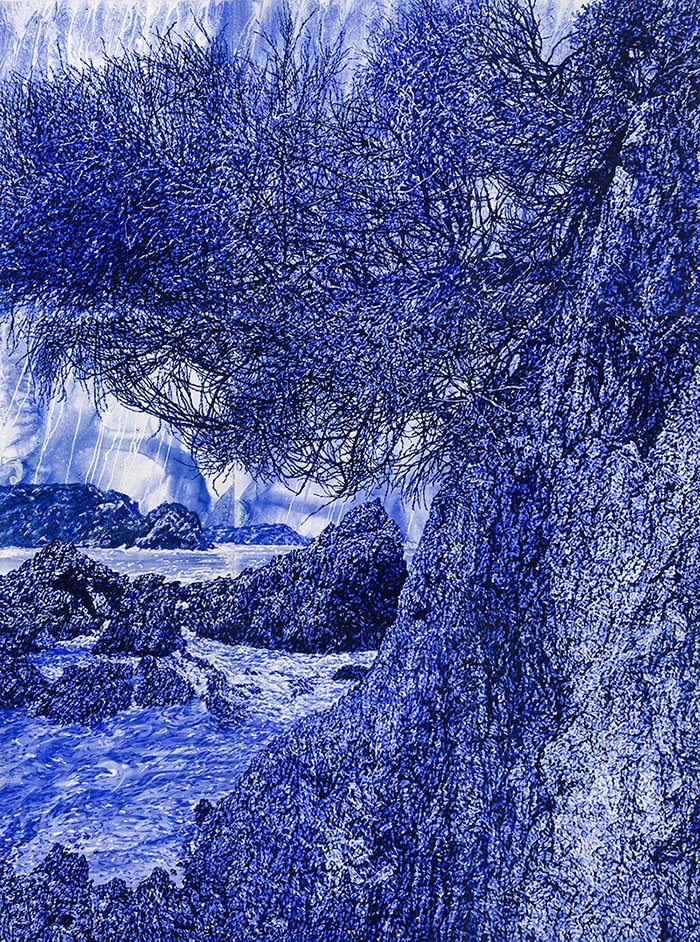
Endurance 8, 2021, watercolour monotype on paper, 228cm x 168cm, photo by Brenton McGeachie

Across the Distance exhibition install at Cox Gallery, Canberra, photo by Brenton McGeachie

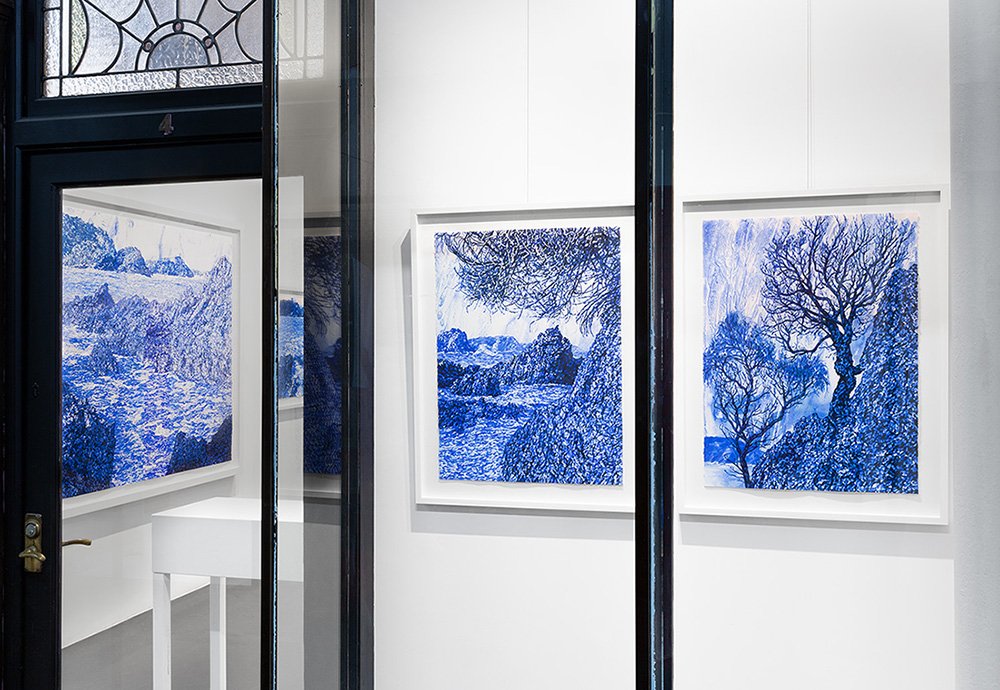
Through the Arch 3, 2022, watercolour monotype on paper, 76cm x 112cm

Across the distance 2, 2022, watercolour monotype on paper, 76cm x 112cm

Endurance 12, 2022, watercolour monotype on paper, 152cm x 168cm

Over the Edge, 2022, watercolour monotype on paper, 76cm x 56cm

Over the Edge 2, 2022, watercolour monotype on paper, 76cm x 56cm
Turbulence, 2022, watercolour monotype on paper, 112cm x 76cm
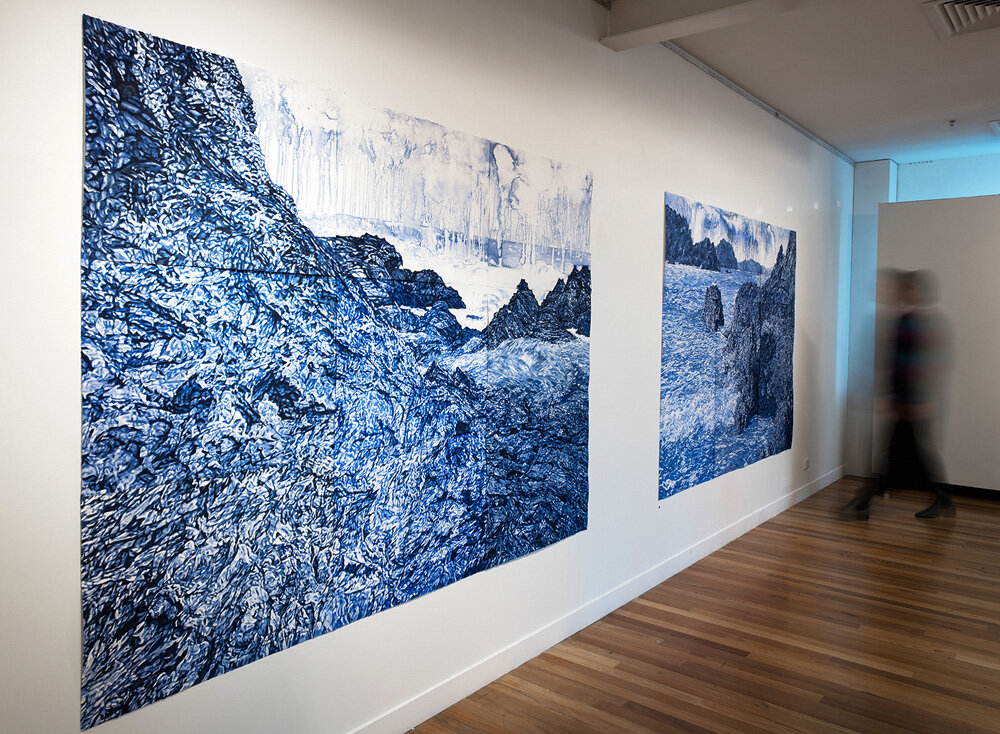
Turbulence exhibition install, Flinders Lane Gallery, Melbourne, 2022, photo by Dean Butters
Turbulence install, Flinders Lane Gallery, Melbourne, 2022, photo by Dean Butters
Turbulence install, Flinders Lane Gallery, Melbourne, 2022, photo by Dean Butters

Turbulence install, Flinders Lane Gallery, Melbourne, 2022, photo by Dean Butters
Turbulence install, Flinders Lane Gallery, Melbourne, 2022, photo by Dean Butters
Endurance 4 & 5, 2019, watercolour monotype on paper, 228cm x 168cm each, installed at Goulburn Regional Gallery

Endurance 5, 2019, watercolour monotype on paper, 228cm x168cm, (photo by Dean Butters)

Endurance 4, 2019, watercolour monotype on paper, 228cm x 168cm, (photo by Dean Butters)

Endurance exhibition install, February 2020, Flinders Lane Gallery, Melbourne, (photo by Dean Butters)

Endurance exhibition install, February 2020, Flinders Lane Gallery, Melbourne, (photo by Dean Butters)

Guerilla Bay 2, 2019, watercolour monotype on paper, 168cm x 76cm (photo by Brenton McGeachie)

Guerilla Bay 3, 2019, watercolour monotype on paper, 168cm x 76cm (photo by Brenton McGeachie)

Endurance 3, 2019, watercolour monotype on paper, 168cm x 76cm (photo by Brenton McGeachie)

Endurance 6, 2020, watercolour monotype on paper, 112cm x 76cm

Through the Arch 2, 2021, watercolour monotype on paper, 112cm x 76

Through the Arch, 2021, watercolour monotype on paper, 76cm x 56

Across the distance, 2021, watercolour monotype on paper, 76cm x 56cm

Endurance 1, 2019, watercolour monotype on paper, 168cm x 228cm (photo by Brenton McGeachie)

Endurance 2, 2019, watercolour monotype on paper, 168cm x 228cm (photo by Brenton McGeachie)

'Endurance' solo exhibition, 2019, Megalo Print Studio & Gallery, Canberra (photo by Brenton McGeachie)
'Endurance' solo exhibition, 2019, Megalo Print Studio & Gallery, Canberra (photo by Brenton McGeachie)

Guerilla Bay 1, 2019, watercolour monotype on paper, 168cm x 228cm (photo by Brenton McGeachie)

'Endurance' solo exhibition, 2019, Megalo Print Studio & Gallery, Canberra (photo by Brenton McGeachie)

Horizon 2, 2019, watercolour monotype on paper, 56cm x 76cm (photo by Brenton McGeachie)
Endurance 10, 11 & 9, 2022, Ellen José Art Award, Bayside Gallery, Victoria, photo by Mark Ashkanasy, Image Courtesy Bayside Gallery.
Endurance 10 (Rockfall), 2021, watercolour monotype on paper with watercolour additions, 228cm x 168cm
Endurance 11, 2022, watercolour monotype on paper with watercolour additions, 228cm x 168cm
Endurance 9, 2021, watercolour monotype on paper, 228cm x 168cm
Endurance 9 (detail), 2021, watercolour monotype on paper, 228cm x 168cm
Endurance 9 (detail), 2021, watercolour monotype on paper, 228cm x 168cm
Endurance 13, 2022, watercolour monotype on paper, 228cm x 168cm
Endurance 13, Endurance 10 (Rockfall), Endurance 11, Sydney Contemporary Art Fair 2022, photo by Document Photography
Across the Distance exhibition install at Cox Gallery, Canberra, photo by Brenton McGeachie
Endurance 7, 2021, watercolour monotype on paper, 228cm x 168cm, photo by Brenton McGeachie
Endurance 7 (detail), 2021, watercolour monotype on paper, 228cm x 168cm, photo by Brenton McGeachie
Endurance 8, 2021, watercolour monotype on paper, 228cm x 168cm, photo by Brenton McGeachie
Across the Distance exhibition install at Cox Gallery, Canberra, photo by Brenton McGeachie
Through the Arch 3, 2022, watercolour monotype on paper, 76cm x 112cm
Across the distance 2, 2022, watercolour monotype on paper, 76cm x 112cm
Endurance 12, 2022, watercolour monotype on paper, 152cm x 168cm
Over the Edge, 2022, watercolour monotype on paper, 76cm x 56cm
Over the Edge 2, 2022, watercolour monotype on paper, 76cm x 56cm
Turbulence, 2022, watercolour monotype on paper, 112cm x 76cm
Turbulence exhibition install, Flinders Lane Gallery, Melbourne, 2022, photo by Dean Butters
Turbulence install, Flinders Lane Gallery, Melbourne, 2022, photo by Dean Butters
Turbulence install, Flinders Lane Gallery, Melbourne, 2022, photo by Dean Butters
Turbulence install, Flinders Lane Gallery, Melbourne, 2022, photo by Dean Butters
Turbulence install, Flinders Lane Gallery, Melbourne, 2022, photo by Dean Butters
Endurance 4 & 5, 2019, watercolour monotype on paper, 228cm x 168cm each, installed at Goulburn Regional Gallery
Endurance 5, 2019, watercolour monotype on paper, 228cm x168cm, (photo by Dean Butters)
Endurance 4, 2019, watercolour monotype on paper, 228cm x 168cm, (photo by Dean Butters)
Endurance exhibition install, February 2020, Flinders Lane Gallery, Melbourne, (photo by Dean Butters)
Endurance exhibition install, February 2020, Flinders Lane Gallery, Melbourne, (photo by Dean Butters)
Guerilla Bay 2, 2019, watercolour monotype on paper, 168cm x 76cm (photo by Brenton McGeachie)
Guerilla Bay 3, 2019, watercolour monotype on paper, 168cm x 76cm (photo by Brenton McGeachie)
Endurance 3, 2019, watercolour monotype on paper, 168cm x 76cm (photo by Brenton McGeachie)
Endurance 6, 2020, watercolour monotype on paper, 112cm x 76cm
Through the Arch 2, 2021, watercolour monotype on paper, 112cm x 76
Through the Arch, 2021, watercolour monotype on paper, 76cm x 56
Across the distance, 2021, watercolour monotype on paper, 76cm x 56cm
Endurance 1, 2019, watercolour monotype on paper, 168cm x 228cm (photo by Brenton McGeachie)
Endurance 2, 2019, watercolour monotype on paper, 168cm x 228cm (photo by Brenton McGeachie)
'Endurance' solo exhibition, 2019, Megalo Print Studio & Gallery, Canberra (photo by Brenton McGeachie)
'Endurance' solo exhibition, 2019, Megalo Print Studio & Gallery, Canberra (photo by Brenton McGeachie)
Guerilla Bay 1, 2019, watercolour monotype on paper, 168cm x 228cm (photo by Brenton McGeachie)
'Endurance' solo exhibition, 2019, Megalo Print Studio & Gallery, Canberra (photo by Brenton McGeachie)
Horizon 2, 2019, watercolour monotype on paper, 56cm x 76cm (photo by Brenton McGeachie)
info
/
1
2
3
4
5
6
7
8
9
10
11
12
13
14
15
16
17
18
19
20
21
22
23
24
25
26
27
28
29
30
31
32
33
34
35
36
37
38
39
40
41
42
43
·
·
·
·
·
·
·
·
·
·
·
·
·
·
·
·
·
·
·
·
·
·
·
·
·
·
·
·
·
·
·
·
·
·
·
·
·
·
·
·
·
·
·